DHM microscope – Materials science
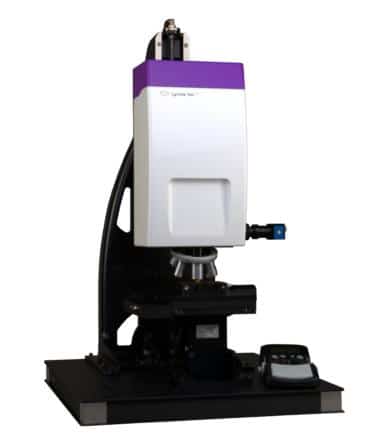
DHM R Serie
1. Non-contact scanning
2. 3D profilometry at an unrivaled speed
3. MEMS analysis, up to 25 MHz
4. Measure under controlled environmental conditions
5. Measure the topography of transparent patterns
The DHM Reflection series (DHM®-R1000, DHM®-R2100 and DHM®-R2200) are holographic microscopes configured in reflection. They are ideal for measuring totally or partially reflecting objects. Their ability to work with low reflection interfaces (less than 1% reflectivity) makes them ideal instruments for precise optical topographic measurements on a wide variety of samples.
- R-1000 series: single laser source
- R-2100 series: dual laser sources
- R-2200 series: three laser sources
Applications
Dynamic topography
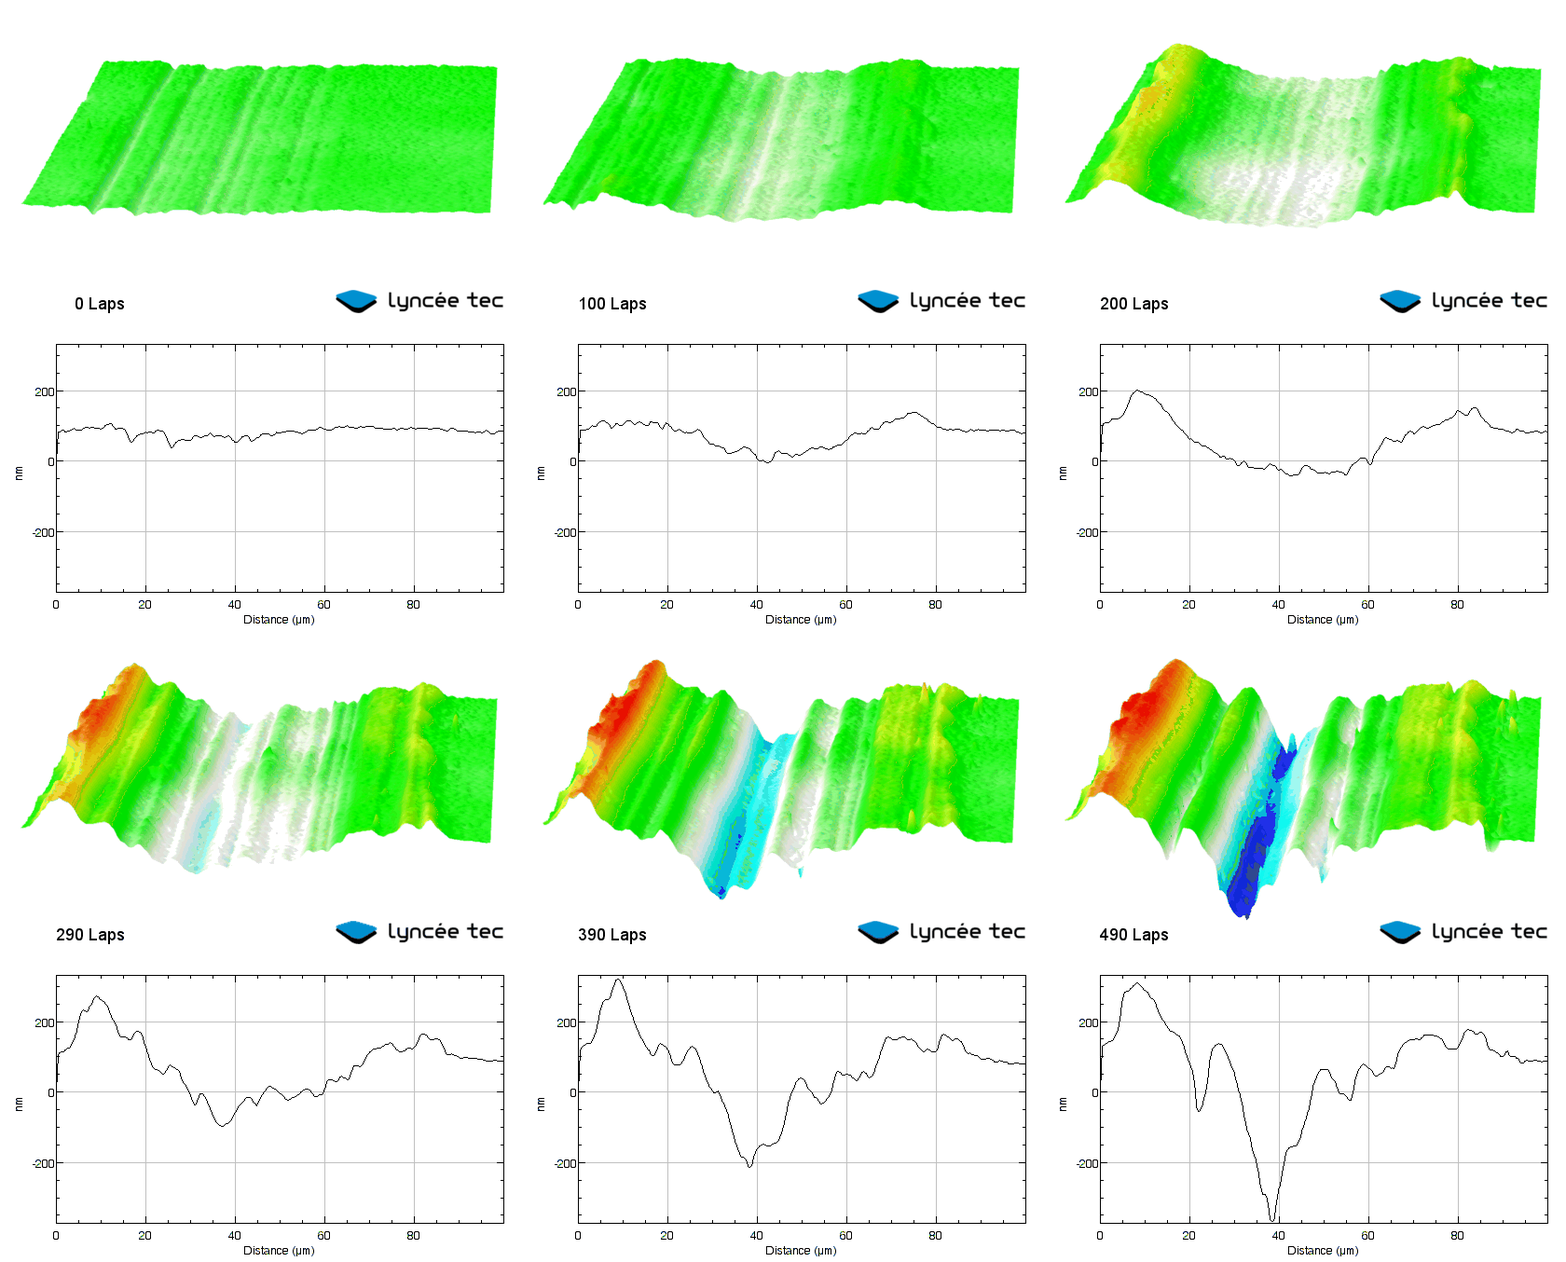
- 4D Tribology
- Micro-plate
- "Rolex Learning Center"
- Deformation of the membrane
- Smart Polymer
- Electrochemistry
- Liquid interface
- Self-assembly
- Oscillator watch
MEMS
- MEMS microphone
- Inertial sensors
- MEMS actuator
- MEMS Cantilevers
- optical MEMS
- Ultrasonic transducers
- SAW - Surface acoustic waves
Surface topography
- Standard step height
- Fluid topography
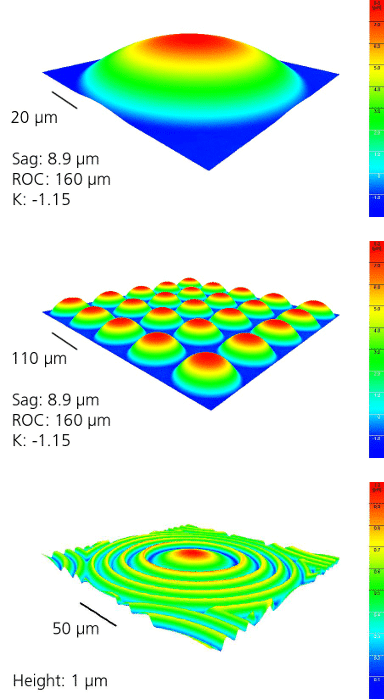
- Micro-optics
- Thin structured film
- Surface finish analysis
- Flatness measurement
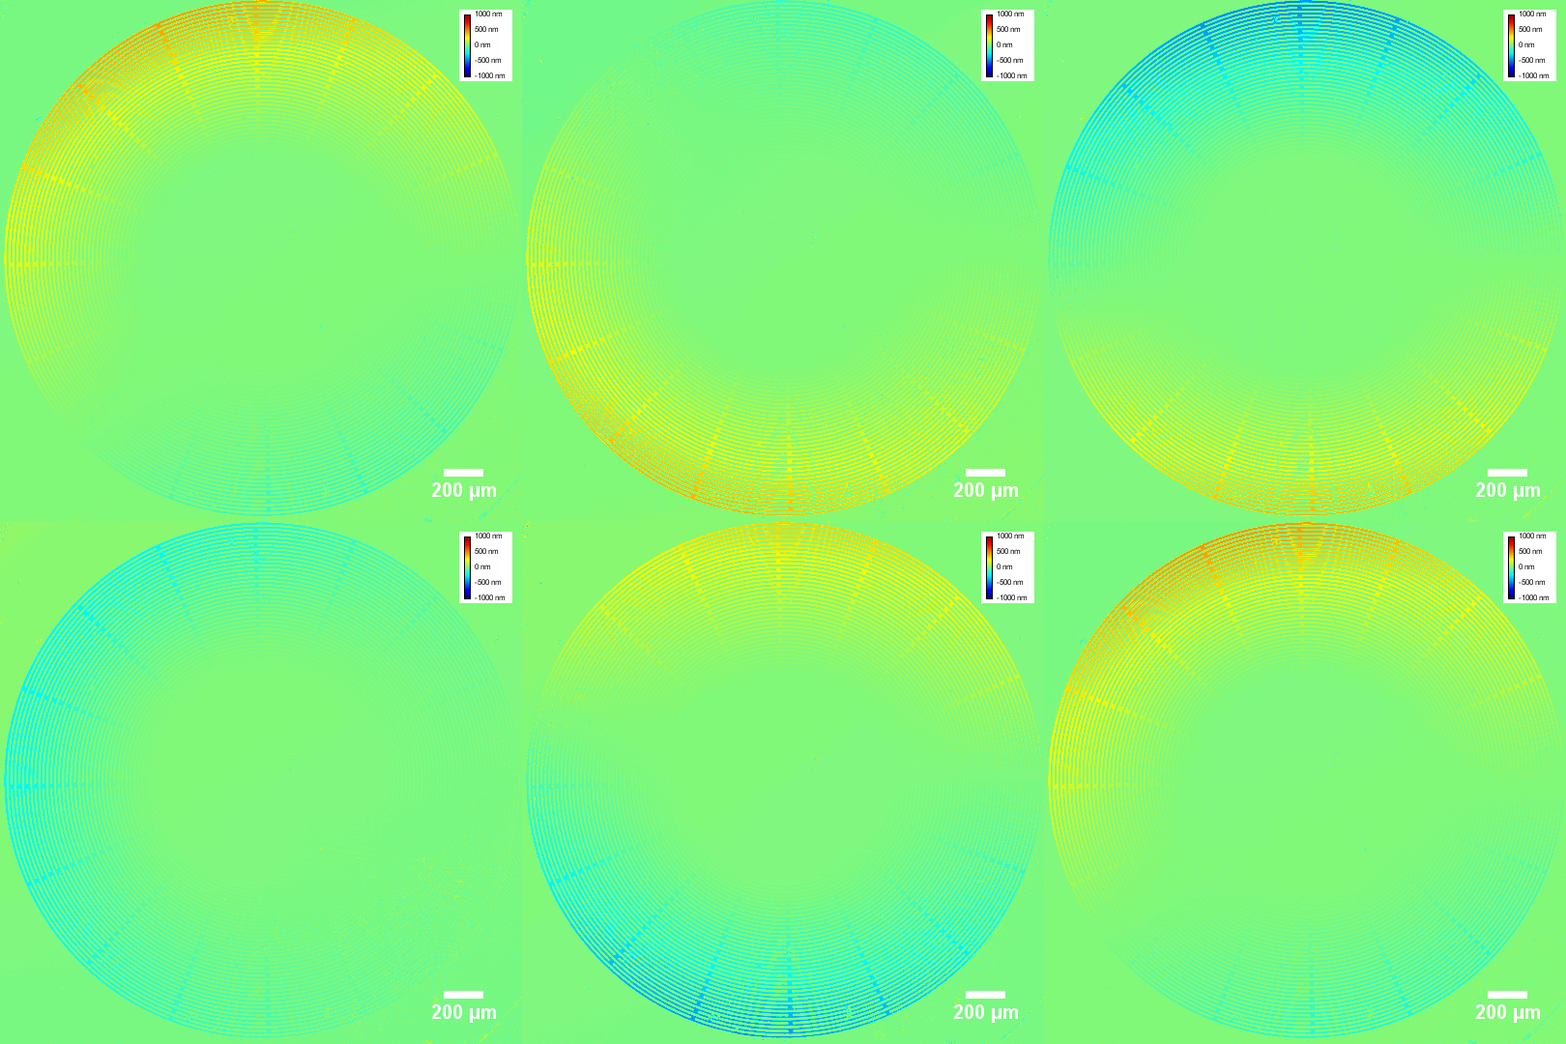
- Metasurface characterization
Automated measurements
- Defect inspection
- Roughness quality control
- Examination of forensic documents
- Plate level - height measurement
More info on applications
- Surface topography
- Surface finish
- Fault inspection
- Structured thin film
- MEMS measurement
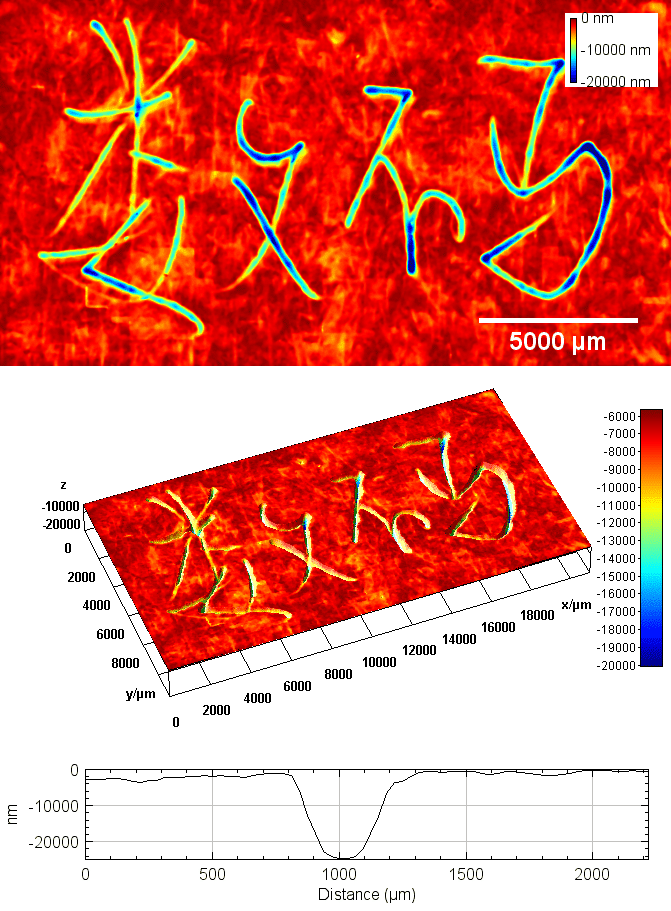
3D profilometry at unmatched speed
DHM measures the 3D topographic map of a surface with a single acquisition, with no scanning mechanism required. It provides unbeatable fast acquisition, at a rate of up to 1000 images per second, allowing:
- Study of the 3D dynamic behavior of deformable samples
- Quick screen and analysis of large areas
- Routine inspections with high productivity
Capture of 3D topographies on the production chain,
without stopping the sample
MEMS analysis, up to 25 MHz
The optional strobe unit synchronizes the DHM® measurements with the excitation signal from a MEMS device.
Analysis of this unique set of data provides:
- Chronological sequence of 3D topographies
- Frequency resonances and responses
- Amplitude of vibration with resolution of 17h for out-of-plane and 1nm for movements in the plane
- Characterization of complex movements and samples
geometries, including holes
Measure under controlled environmental conditions
DHM's unique optical configuration allows the user to measure with optimal optical quality:
- Through glass and immersion liquids
- inside the environmental and vacuum chambers, under controlled temperature, humidity, pressure or gas composition
Measure the topography of transparent patterns
Optional DHM Reflectometry analysis
The software allows to measure:
- Topography of transparent structures
- Thickness and refractive index values of structured multilayers with thicknesses ranging from 10 nanometers to tens of microns
- Topography of soft materials and liquids

Digital holographic microscopy (DHM) is a patented technology. It records, with a digital camera, the holograms produced by the interference between the beam reflected by the sample and a reference beam generated inside the microscope. Holograms are digitally processed to reconstruct a 3D optical map of the specimen. The vertical calibration of DHM is intrinsically defined by the wavelength of the laser. It provides reproducible and high precision data and measurements with an interferometric resolution, that is to say a vertical subnanometric resolution, as well as a lateral resolution limited by the choice of the objective of the microscope. Thanks to the advanced digital processing of the recorded hologram, sharp focusing can be carried out simultaneously or after the measurement, in post-processing without manual adjustment of the height of the sample.
ADVANTAGES
- Non-contact scanning
- 3D profilometry at an unrivaled speed
- MEMS analysis, up to 25 MHz
- Measure under controlled environmental conditions
- Measure the topography of transparent patterns
Spécifications
R Serie Specifications
| R1000 | R2100 | R2200 | |
| Configuration | One laser source | Two laser sources | Three laser sources |
| Specificity | Single wavelength | Short synthetic wavelength | Short and large synthetic wavelengths |
| Measurement modes | Single wavelength | Single and dual wavelength | Single and dual wavelength |
| Accuracy (as demonstrated by taking the temporal standard deviation on 1 pixel over 30 measurements) | 0.15 nm | 0.15 / 3.0 nm * | 0.15 / 3.0 nm / 20 nm * |
| Vertical resolution (defined as twice the accuracy) | 0.30 nm | 0.30 / 6.0 nm * | 0.30 / 6.0 nm / 40 nm * |
| Repeatability (as demonstrated by taking the one sigma Rq value of 30 repeatability measurements on SiC reference mirror) | 0.01 nm | 0.01 / 0.1 nm * | 0.01 / 0.1 nm / 0.5 nm * |
| Vertical measuring range (without any scanning) |
|
|
|
| Max. height of steps with sharp edges (Depends on the laser source(s) and operating wavelength(s) |
|
|
|
* With / Without single wavelength mapping
Contact us for more information on this product
Would you like an estimation ?
Additional information?
We will reply to you within 24 hours


