Nanoindenter at nanoscale
G200
2. Mechanical test at the nanometric scale
3. Scalable and extensible platform
4. Automated
Applications of nanoindentation
- High speed hardness and modulus measurement
- Interfacial adhesion measurement
- Robustness Fracture
- Viscoelastic properties
- Scanning probe microscopy (3D imaging)
- Wear resistance and scratch resistance
- High temperature mechanical tests
- Industries
- Universities, research laboratories and institutes
- Semiconductor manufacturing
- Electronic
- Tire industry
- Coating and painting industry
- Biomedical industry
- Medical equipement
- Universities, research laboratories and institutes
More info on applications
- Adhesion
- Hardness
- Young module
- Scratch
Nanoindentation at the nanoscale
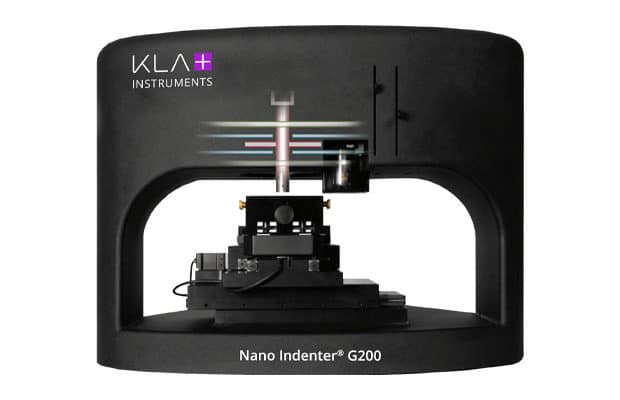
The Nano Indenter ® G200 system is an accurate, flexible and user-friendly instrument for mechanical testing at the nanoscale. The G200 measures Young's modulus and hardness, including the measurement of deformation over six orders of magnitude, from nanometers to millimeters. The system can also measure the complex modulus of polymers, gels and biological tissues as well as the creep response (sensitivity to strain rate) of thin metallic films. Modular options can be adapted to various applications: quantitative frequency, scratch and wear tests, integrated probe-based imaging, high temperature nanoindentation tests, extended load capacity up to 10 N and test protocols custom.
ADVANTAGES
- Mechanical test at the nanometric scale
- Scalable and extensible platform
- Automated
- Electromagnetic actuator to reach high dynamic range in force and displacement
- Modular options for imaging stripes, high temperature nanoindentation measurements and dynamic tests
Intuitive interface for quick configuration of tests; test parameters can be changed with a few mouse clicks
- Experimental control in real time, development of easy test protocols and precise compensation for thermal drift
- Award winning high speed express test option to measure hardness and modulus
- Versatile imaging functions, survey digitization and development of streamlined test methods for rapid results
- Simple determination of the penetrator's function and the rigidity of the load frame

XP head
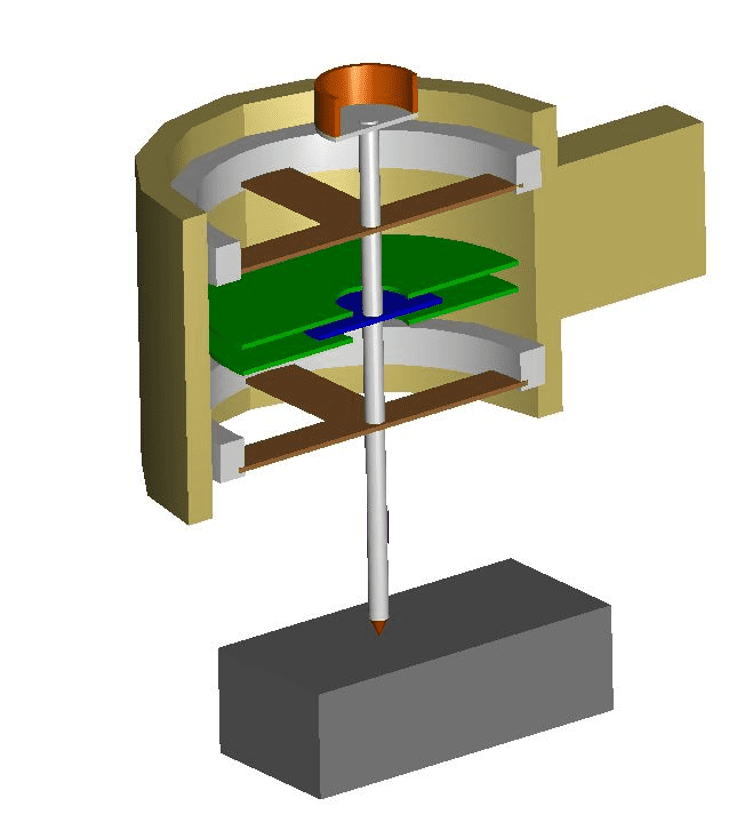
The Nano Indenter G200 system is powered by an electromagnetic transducer to ensure precise measurements. The unique design of the transducer avoids lateral displacement artifacts. The standard XP indentation head is equipped with a loading capacity of 500 mN, offering a displacement resolution <0.01 nm (10 h) and a maximum indentation depth of 500 μm.
Head of dynamic contact module II (DCM II)
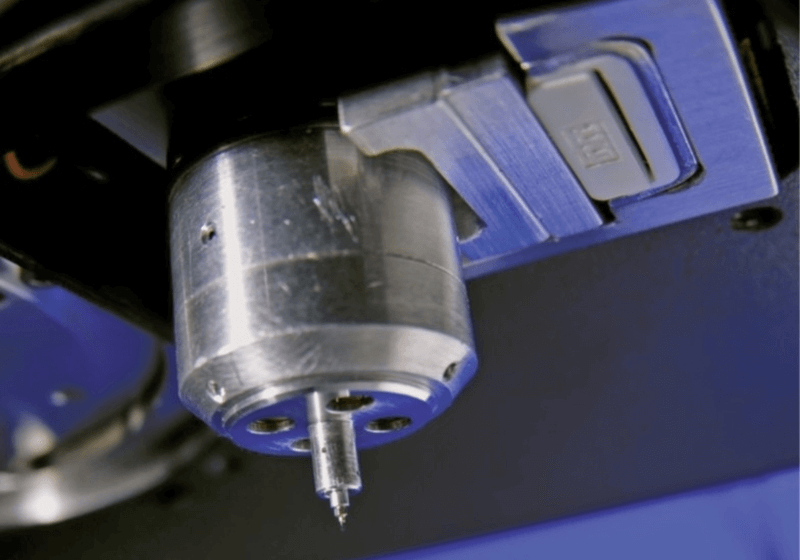
The DCM II head extends the maximum loading capacity to 30 mN and offers a full range of travel of 70 µm with a displacement resolution of 0.2 pm. The tip exchange is designed to allow quick removal and easy installation of a variety of application-specific tips. With the DCM II option, researchers can study not only the first nanometers of indentation in the surface of a material, but also the mechanics before contact.
Express Test
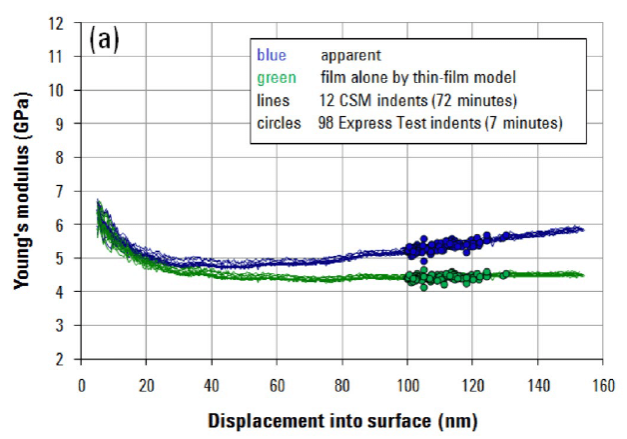
The Express Test option is an innovative and fast way to perform high-precision nanomechanical tests. Recipient of the R & D 100 Award, the express test option performs a full indentation per second, which means that 100 indentations can be performed on 100 different sites in 100 seconds. The Express Test option is compatible with all Nano Indenter G200 DCM II and XP indentation heads and with all steps. The versatile and easy-to-use Express test methods are ideal for applications involving metals, glasses, ceramics, structural polymers, thin films, and low k-coefficient materials. An Express test method for thin-layer measurements incorporates a thin-layer model that automatically takes into account the influence of substrates on the measurement, thus enabling fast and precise measurement of Young's modulus.
Laser heated tip and stage
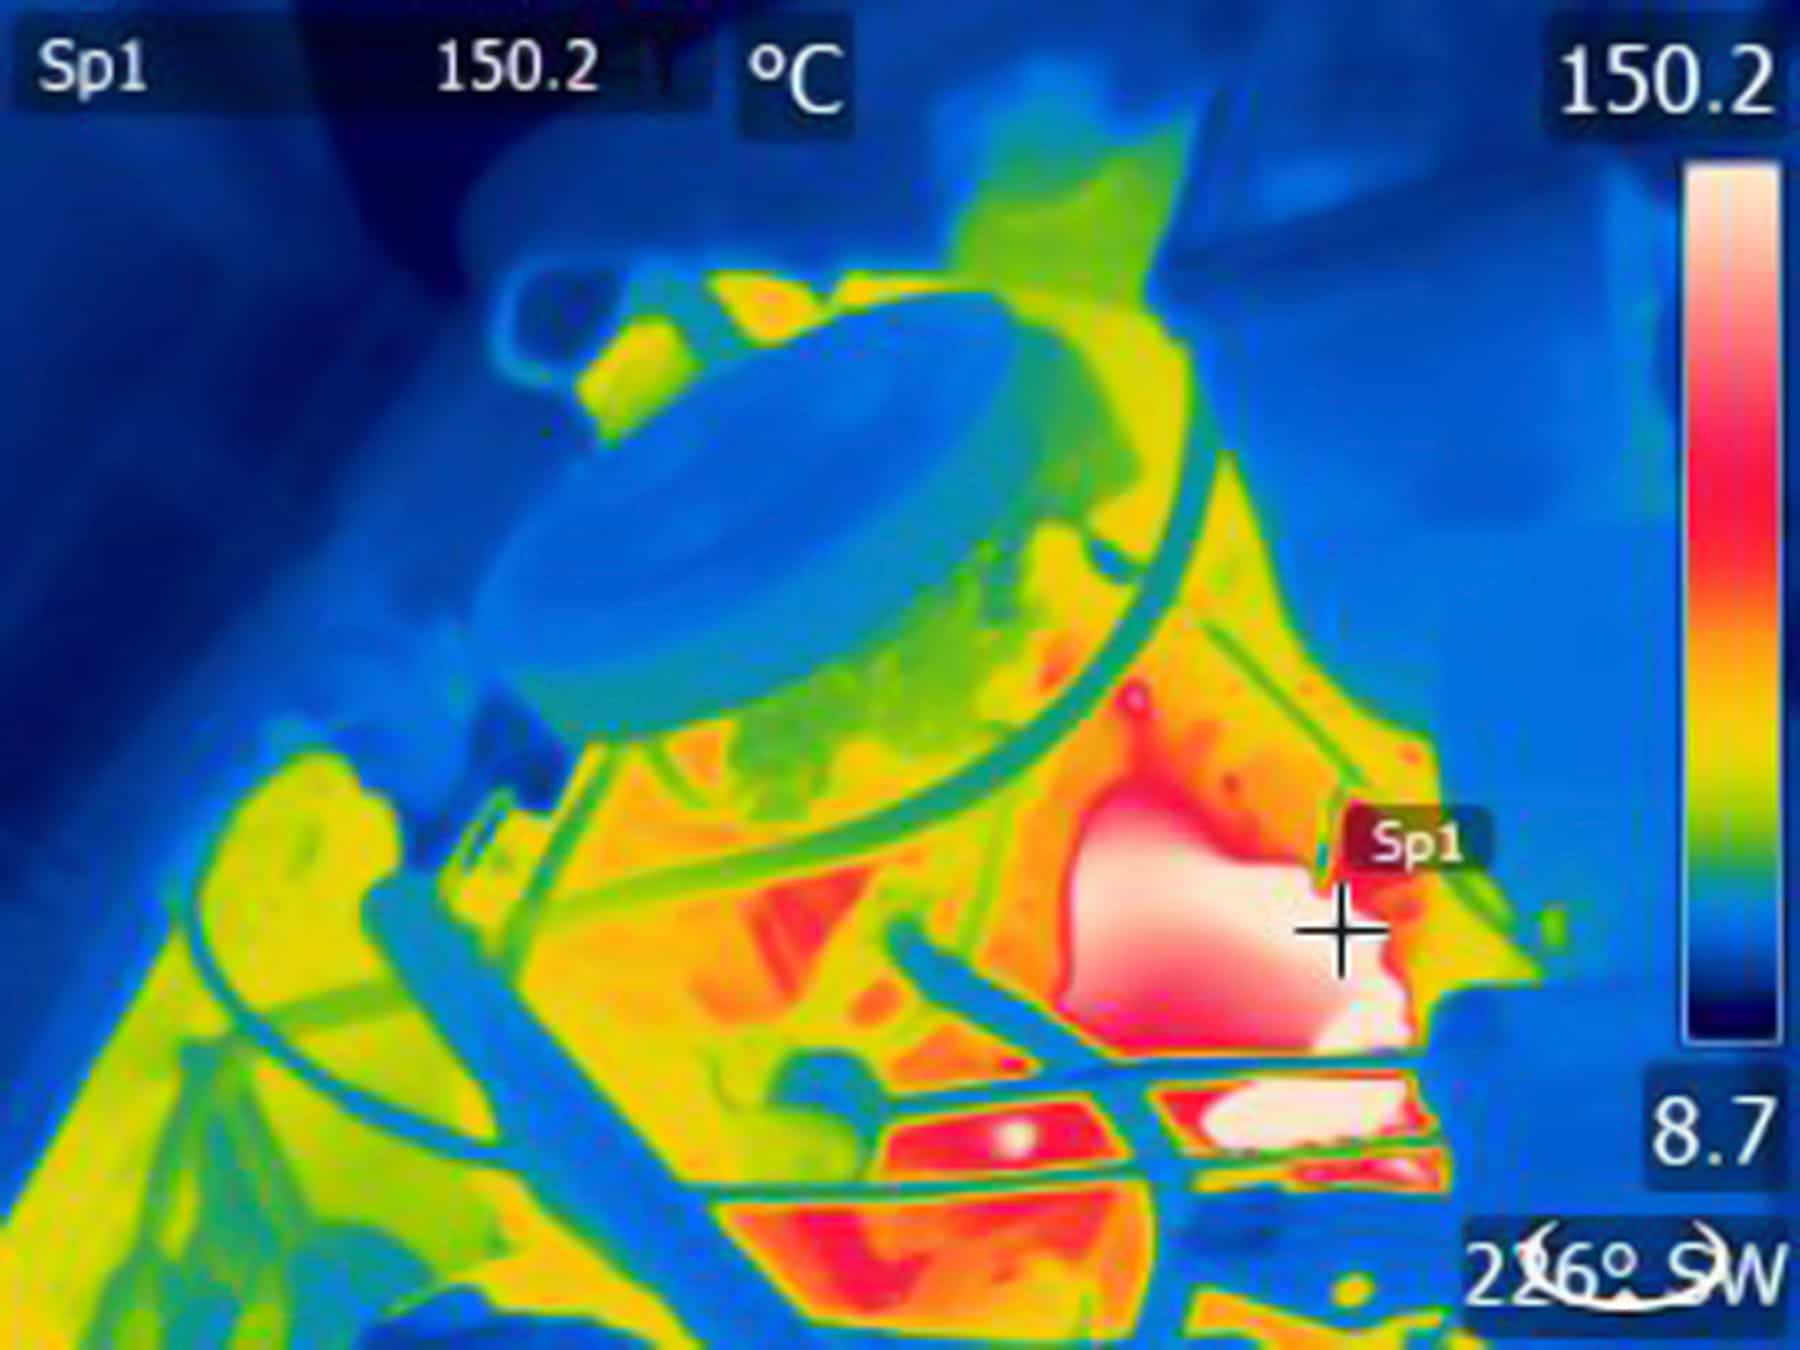
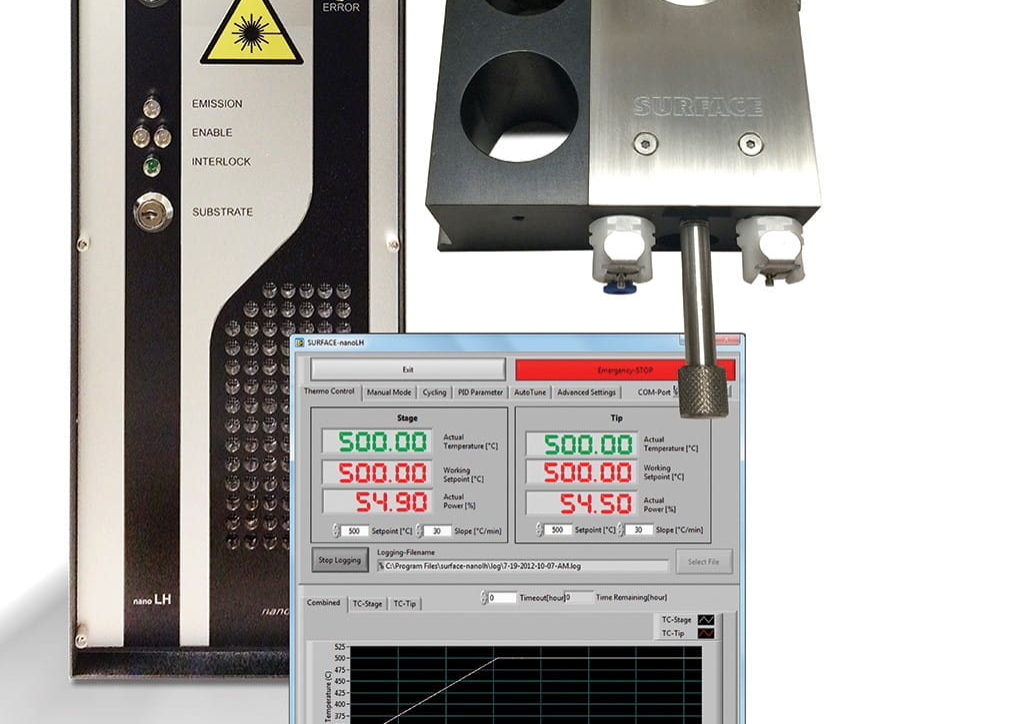
Compatible with the standard XP indentation head, the laser-heated tip and tray option for the Nano Indenter G200 system uses a high-power diode laser to heat the tip and the sample to the same temperature. Benefits include the ability to measure various nanomechanical properties at precisely controlled temperatures or under very dynamic temperature conditions. To ensure accurate data, the system minimizes the drift associated with heating by using a heating tip and using a laser as the heating source (non-resistive heating). The G200 also offers users the possibility of purging samples with different gases to avoid contamination and oxidation.
Continuous stiffness measurement (CSM)
The continuous stiffness measurement (CSM) technique, compatible with the XP and DCM II indentation heads, meets the requirements of the application which must take into account dynamic effects, such as deformation speed and frequency. The ProbeDMA ™ polymer method kit and the AccuFilm ™ thin film method pack are included with the CSM option. The ProbeDMA ™ Polymer Method Pack provides a way to separate in-phase and out-of-phase components from the load movement history. Phase separation allows precise determination of the location of initial contact with the surface and continuous measurement of contact stiffness as a function of depth or frequency, thereby eliminating the need for unloading cycles. The AccuFilm ™ thin film method pack measures the properties of materials independently of the substrate.
Lateral force measurement (LFM)
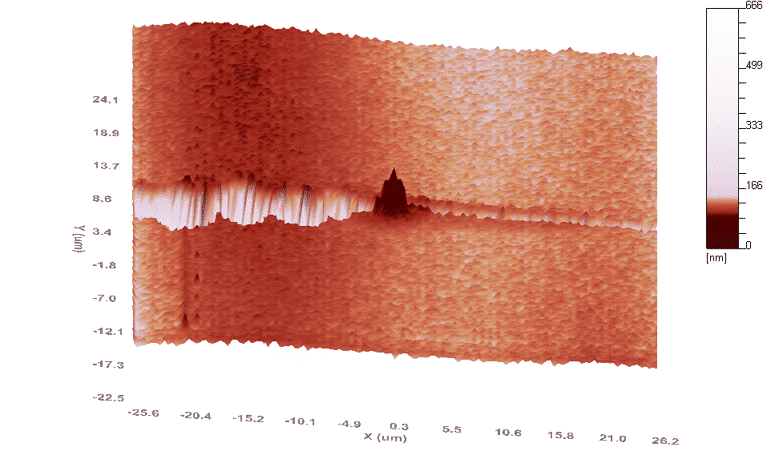
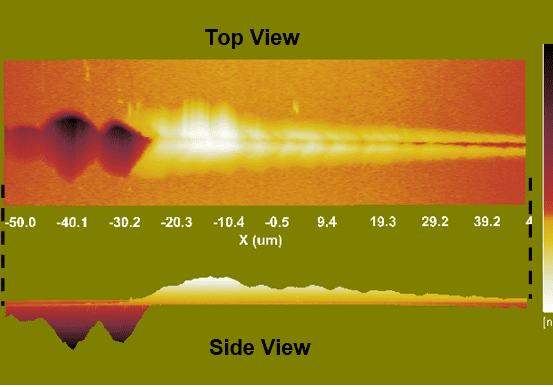
The LFM option provides quantitative three-dimensional analysis for the scratch test, wear test and MEMS probing. This option allows you to measure the shear force in the X and Y directions. Tribological studies benefit greatly from the LFM option, which allows to determine the critical load and the coefficient of friction over the length of the stripe.
High load
Designed to be used with the standard XP indentation head, the High Load option extends the load capacities of the Nano Indenter G200 system up to 10N, allowing full mechanical characterization of ceramics, loose metals and composites . The High Load option has been designed to avoid sacrificing the load and displacement resolutions of the instrument at low forces, and to transparently engage at the point of the test protocol when additional force is required.
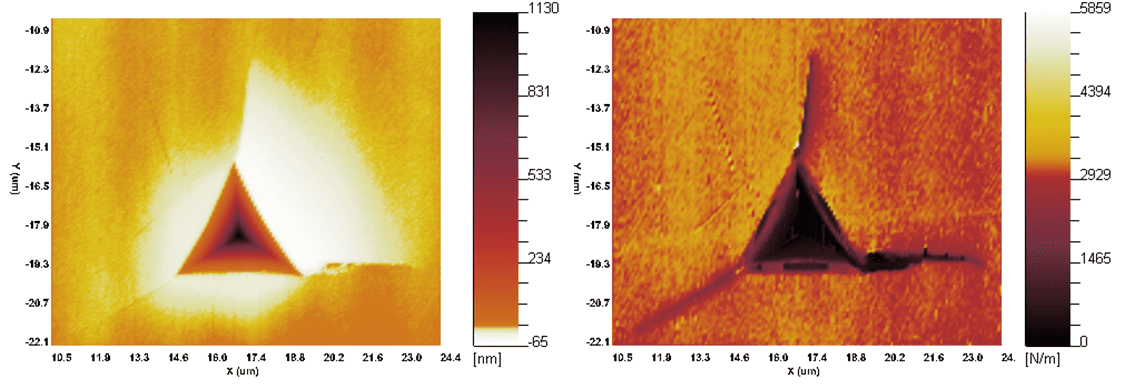
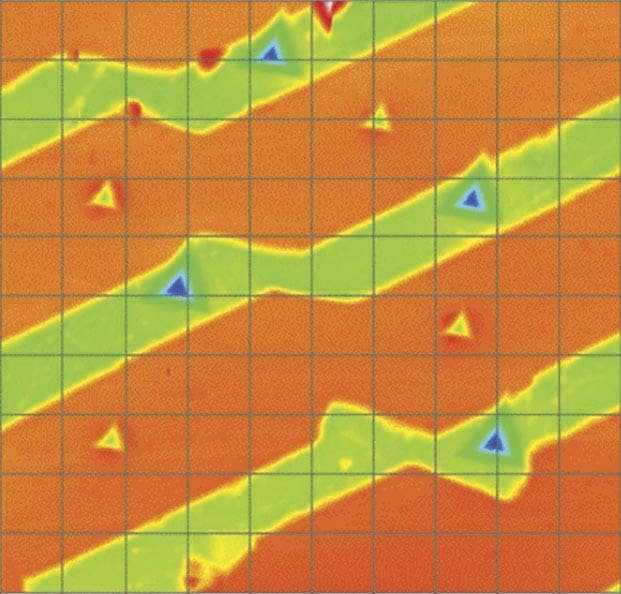
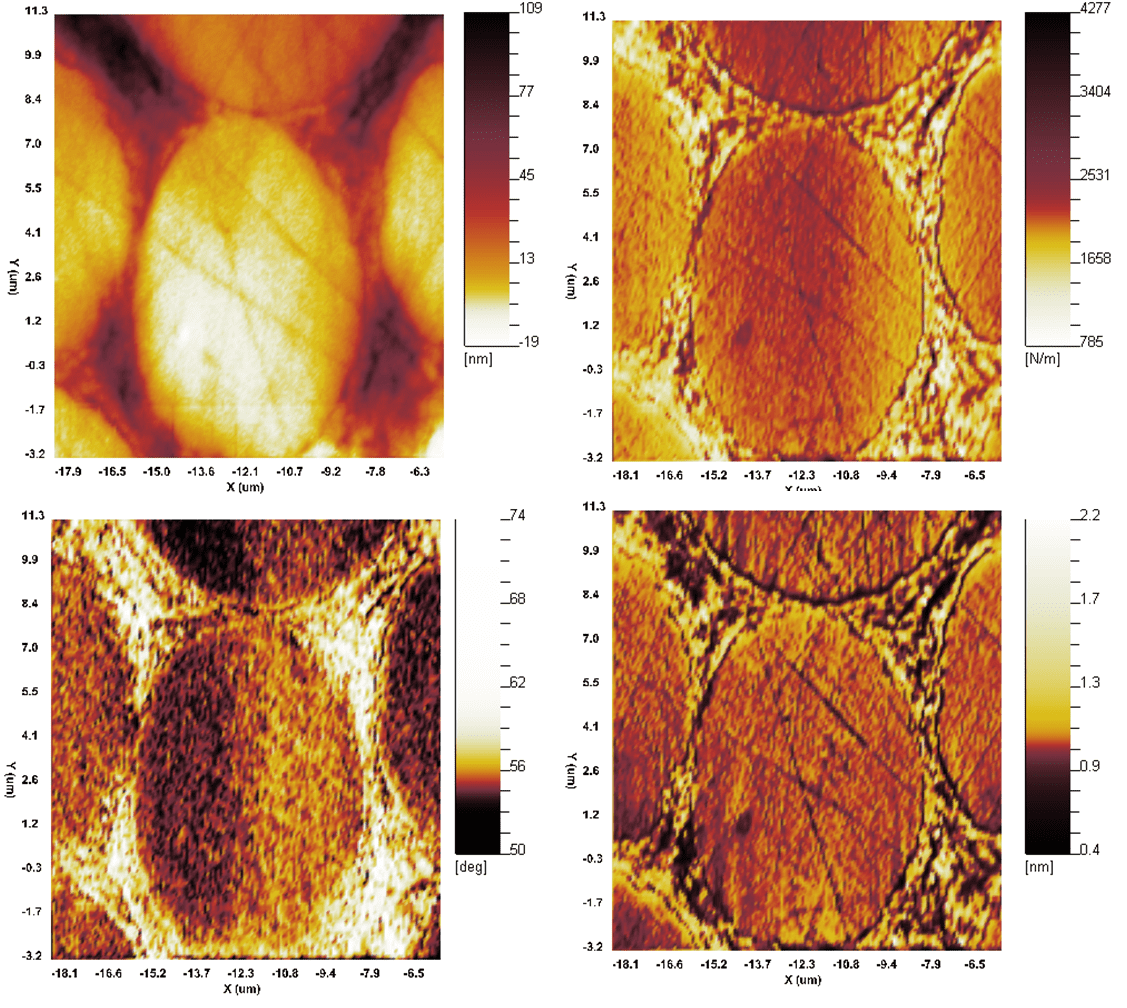
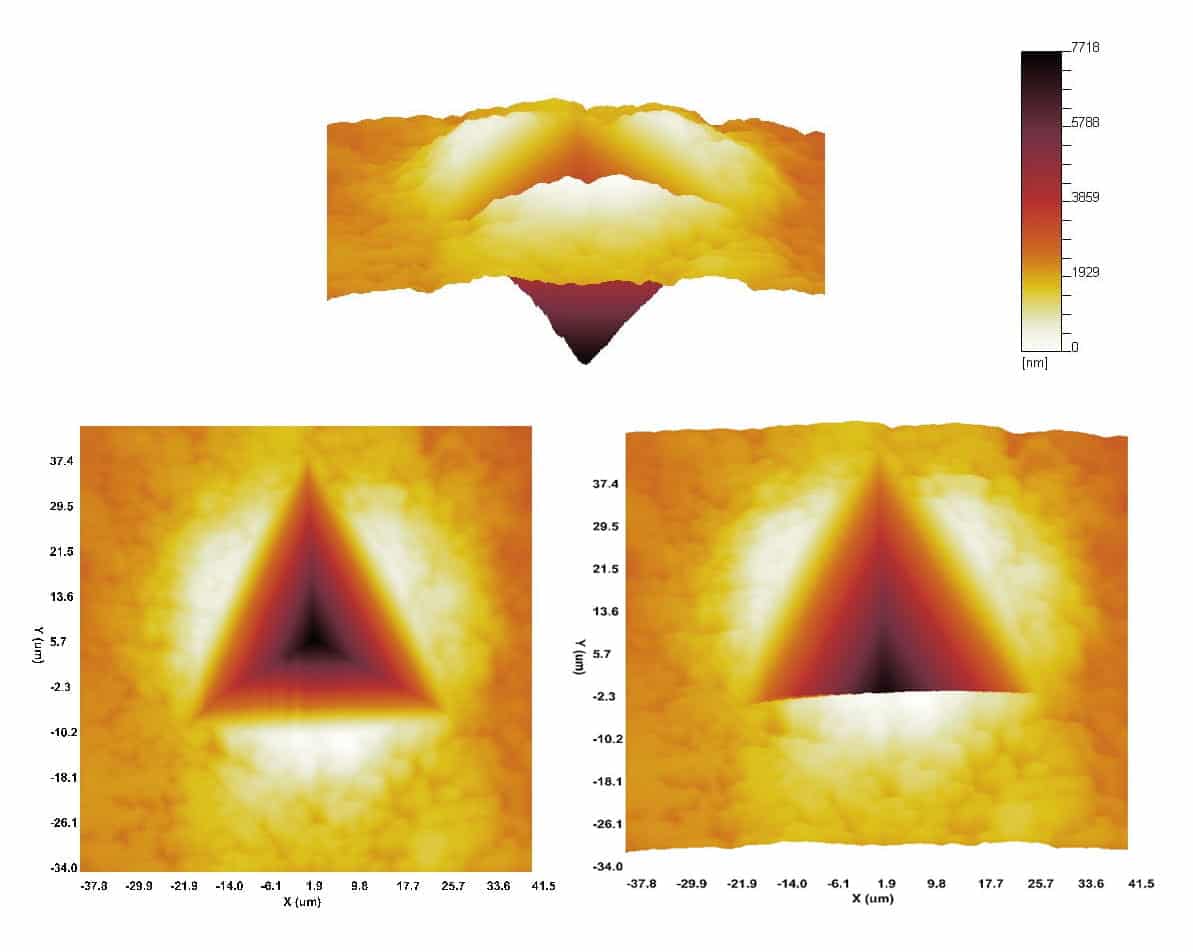
The NanoVision option includes a closed loop nanolocation step for high resolution 3D imaging and precise targeting. NanoVision allows users to target indentation test sites with nanometer precision and characterize the individual phases of complex materials. NanoVision users can also examine residual fingerprints to quantify material response phenomena such as stacking, deformed volume and toughness.
Survey Scanning
The Survey Scanning option uses the reproducible and precise X / Y motion of the Nano Indenter G200 system to provide a maximum scan size of 500 μm by 500 μm. The NanoVision step and survey scan options can be used together for precise geographic targeting for nanoindentation testing, which is particularly useful for determining sample toughness.
All Nano Indenter G200 systems are powered by standard NanoSuite Professional software. The NanoSuite Professional version provides users with access to predefined test methods, including methods that conform to ISO 14577 and methods for removing substrate-related artifacts from samples containing thin-film materials. The NanoSuite Explorer version allows researchers to write their own NanoSuite methods using a simple protocol. With simulation mode, available with NanoSuite Professional and NanoSuite Explorer software, users can write test methods, process and analyze data offline.
Contact us for more information on this product
Would you like an estimation ?
Additional information?
We will reply to you within 24 hours


