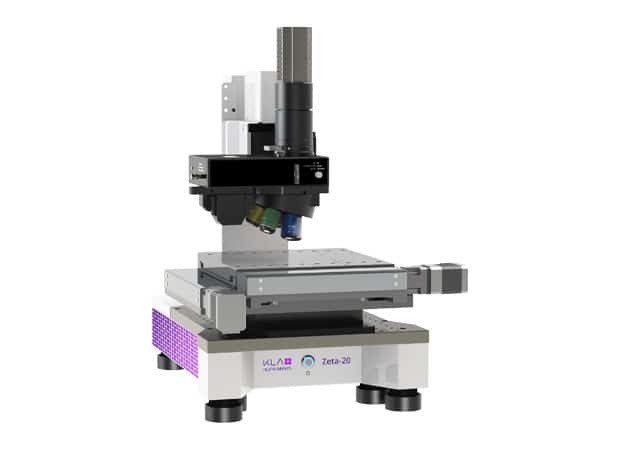
Optical profilometer for R&D
Zeta-20
1. Versatility and Performance
2. Punctual measurement
3. High resolution 3D topography in color even on transparent sample
4. Interferometric: white light VSI - Nomarski - PSI
5. Thickness of transparent thin layers
Applications in optical profilometry
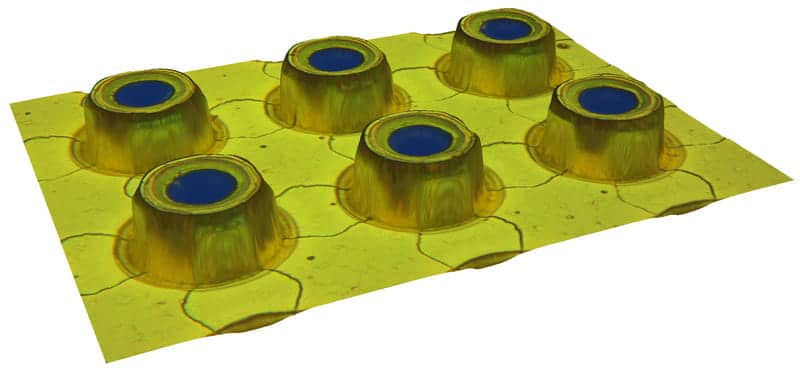
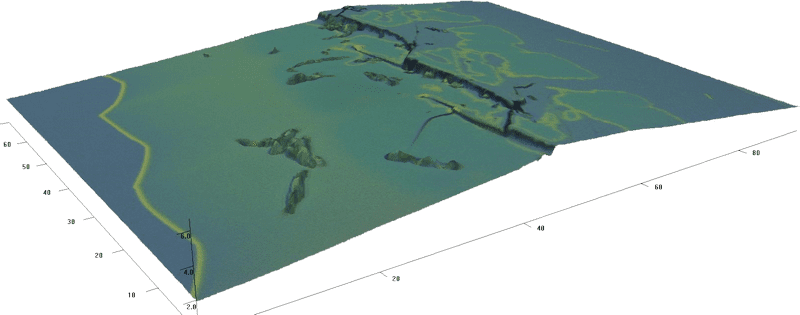
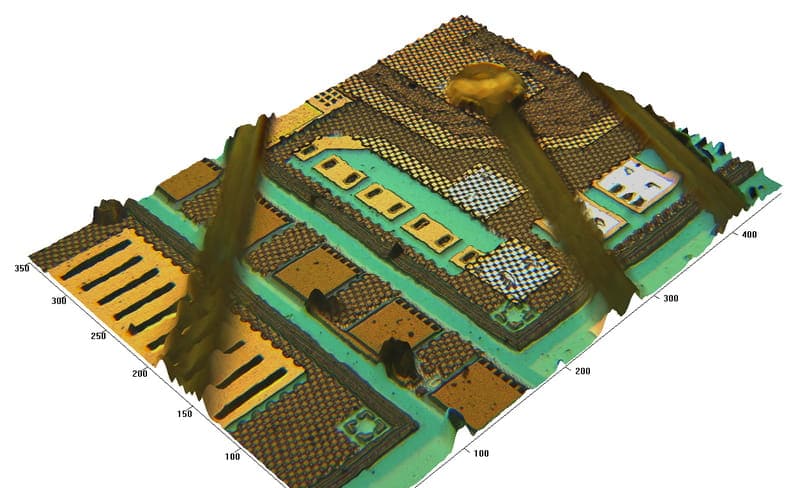
- Step height: 3D step height from nanometers to millimeters
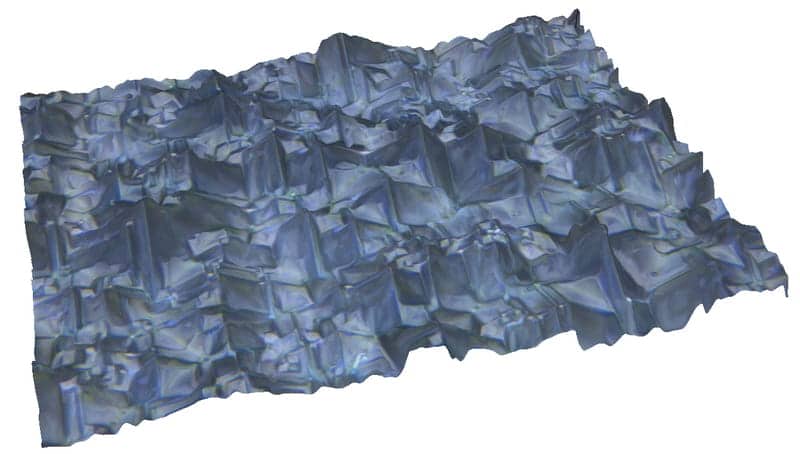
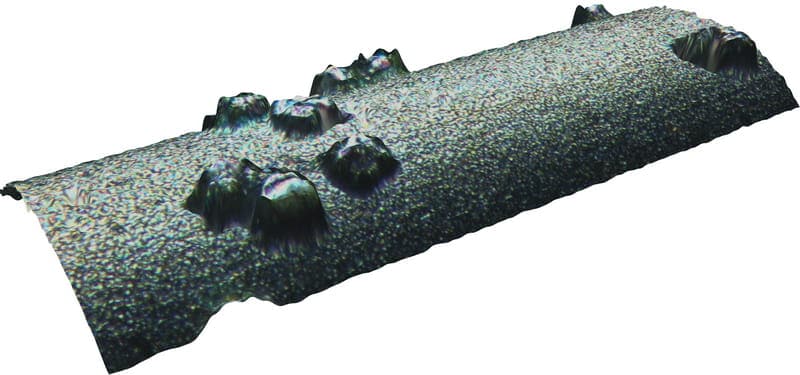
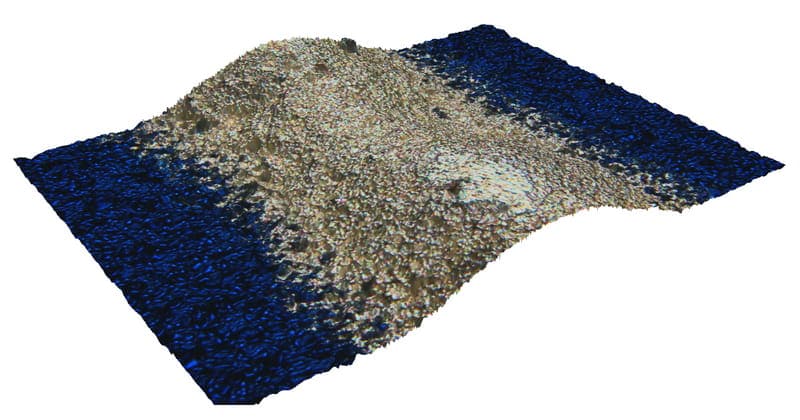
- Texture: 3D roughness and undulation on smooth to very rough surfaces
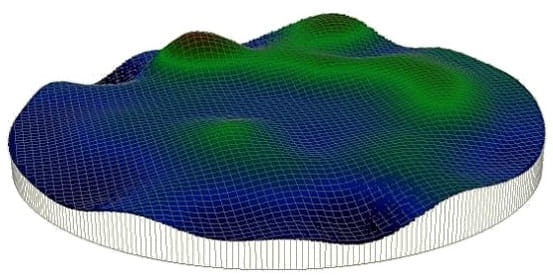
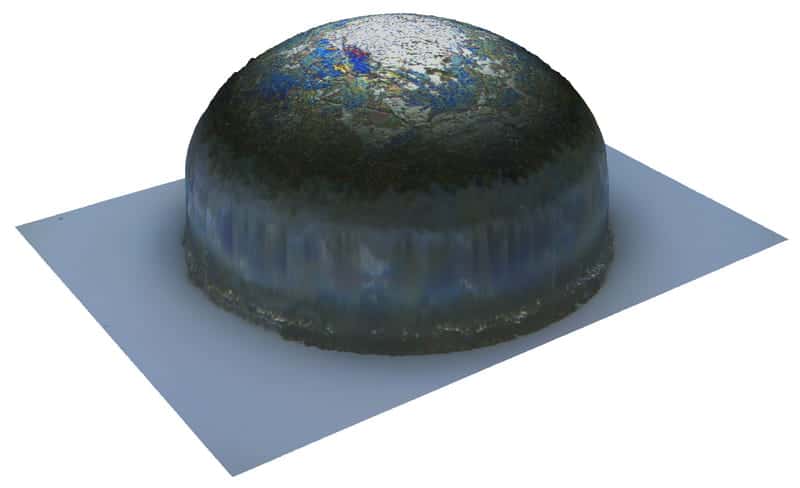
- Shape: arc and 3D shape
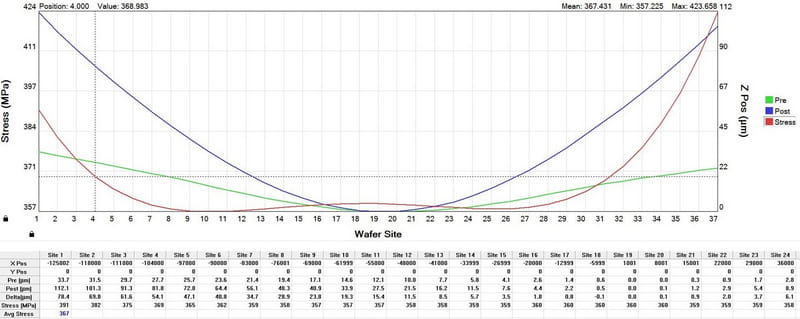
- Constraint: 2D thin film constraint
- Film thickness: thickness of the transparent film from 30 nm to 100 µm
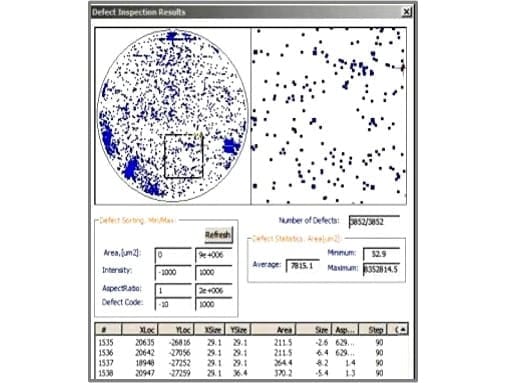
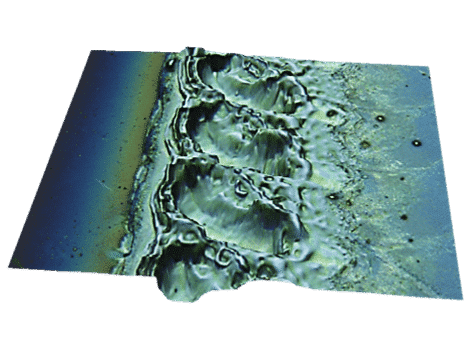
- Defect inspection: capture of faults greater than 1µm
- Verification of faults: KLARF files are used to search for faults in order to measure the topography on the 3D surface or to locate faults.
- Height of steps
- Film thickness
- Texture: roughness and waviness
- Shape: bow and shape
- Stress: the stress of thin layers
- Automated fault inspection
- Examination of faults
- Photovoltaic solar cells
- Packaging of semiconductors and compound semiconductors
- Printed circuit (PCB) and flexible PCB
- Laser ablation
- microfluidics
- Biotechnology
- Data storage
Industries
- Solar: photovoltaic solar cells
- Semiconductor and compound semiconductor
- WLCSP semiconductor
- FOWLP semiconductor (packaging at ventilated pads)
- PCB (printed circuit) and flexible PCB
- MEMS: micro-electro-mechanical systems
- Medical devices and microfluidic devices
- Data storage
- Universities, research laboratories and institutes
More info on applications
- Surface science
- Science of materials
- Solar cells
- Materials for energy
- Semiconductors
- Polymers and Composites
- Surface roughness
- Coatings
Profilometry dedicated to industry and R&D
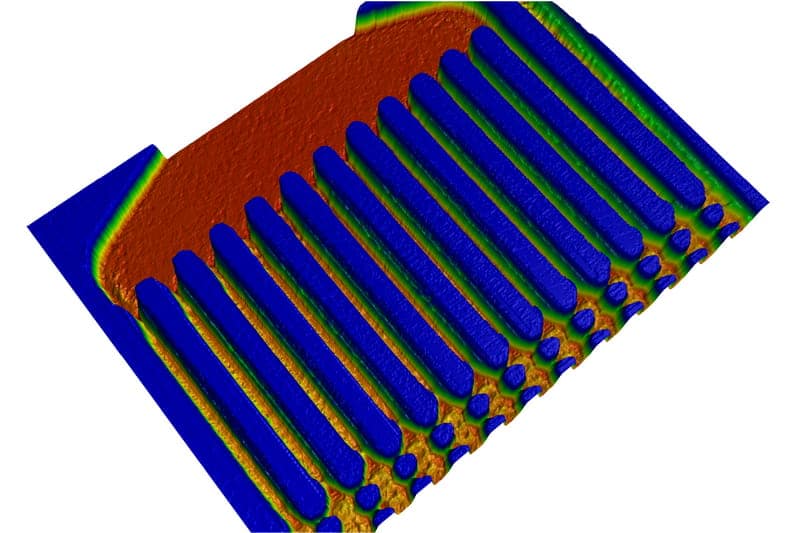
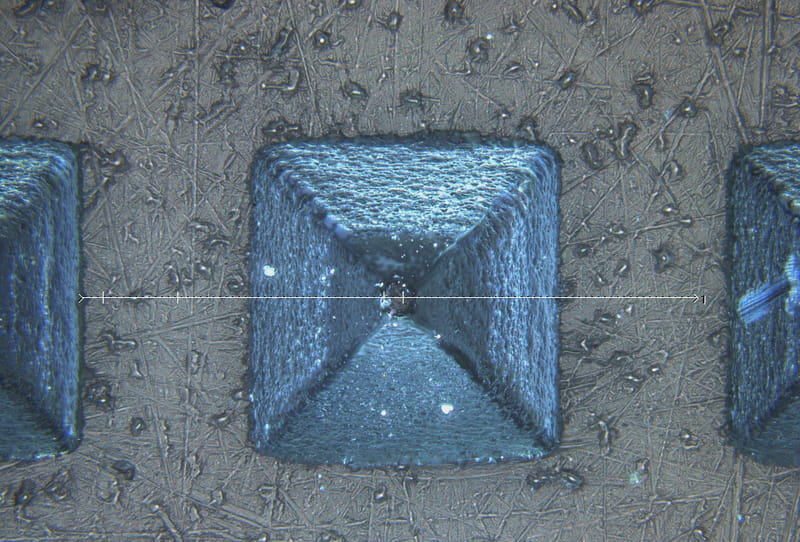
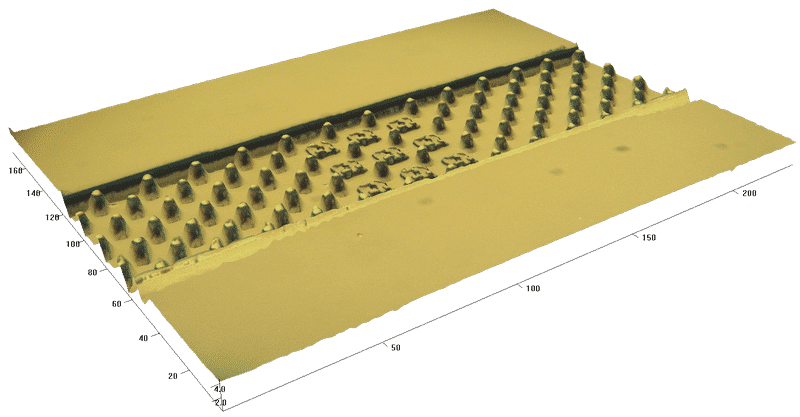
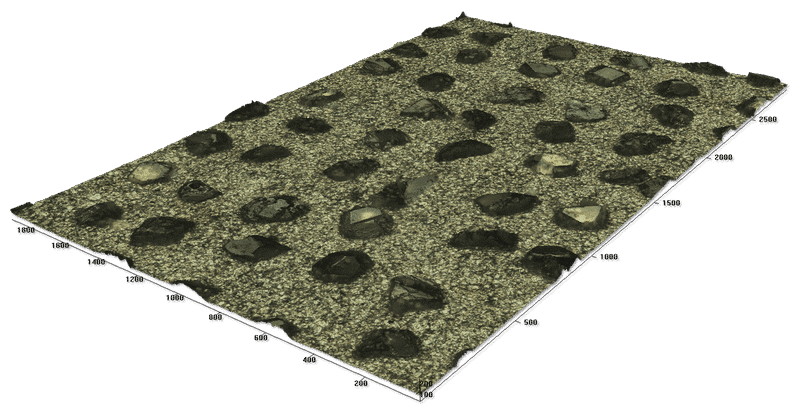
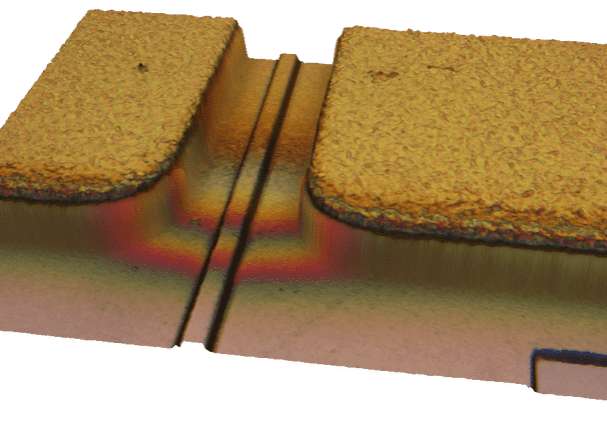
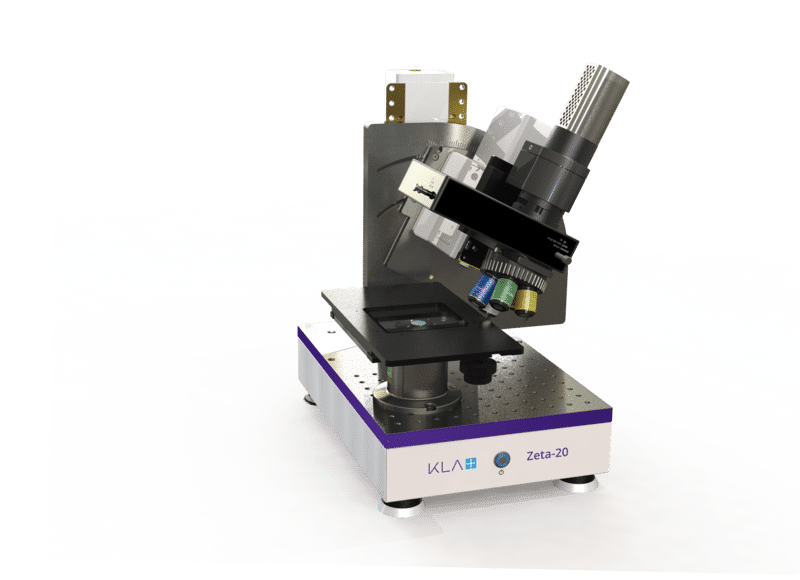
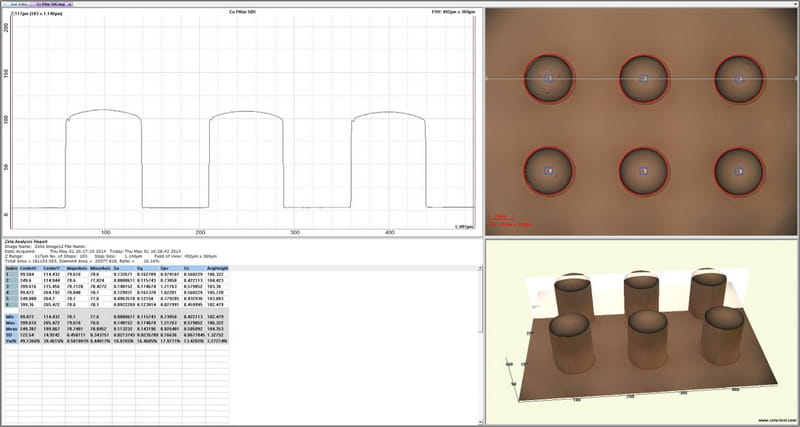
The Zeta-20 integrates six different optical metrology technologies into a configurable and easy-to-use system. The ZDot ™ metering mode simultaneously collects high resolution 3D scanning and a True Color infinite focus image. Other 3D measurement techniques include white light interferometry, Nomarski interference contrast microscopy and shear interferometry. The film thickness can be measured with ZDot or an integrated broadband reflectometer. The Zeta-20 is also a high-end microscope that can be used for sample examination or automated defect inspection. The Zeta-20 supports research and development and production environments by providing comprehensive measurements of film height, roughness and thickness, as well as defect inspection functions.
ADVANTAGES
- Versatility and Performance
- Punctual measurement
- High resolution 3D topography in color even on transparent sample
- Interferometric: VSI white light - Nomarski - PSI
- Thickness of transparent thin layers
- Easy to use optical profiler with ZDot and multi-mode optics for a wide range of applications
- High quality microscope for examining samples or inspecting faults
- ZDot: simultaneously collects high resolution 3D scanning and True Color infinite focus image
- ZXI: White light interferometry for large area measurements with high z resolution
- ZIC: Interference contrast for quantitative 3D data of surfaces with roughness less than one nanometer
- ZSI: shear interferometry for high resolution images z
- ZFT: film thickness and reflectance are measured using an integrated broadband reflectometer
- AOI: Automatic optical control to quantify the defects on the sample
- Production capacity: fully automated measurements with sequencing and pattern recognition
Options
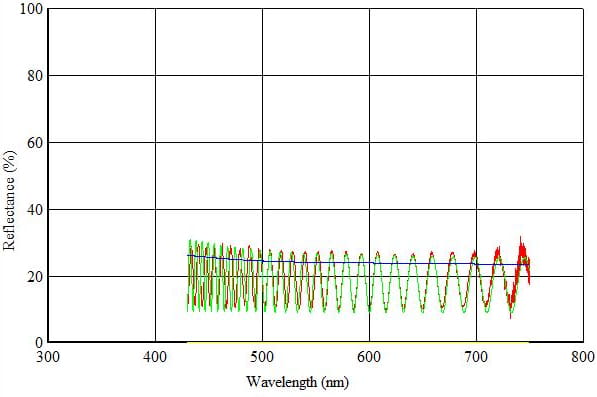

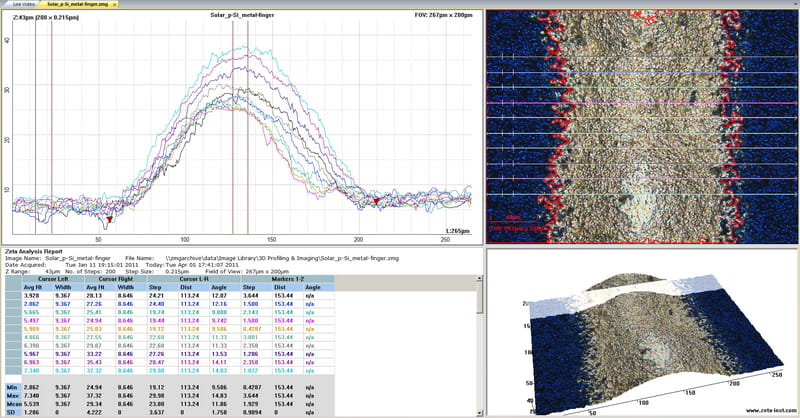
The Zeta-20 offers an integrated broadband spectrometer for measurements of transparent thin layer thickness from 30 nm to 100 µm. It is capable of measuring the thickness of a monolayer or multilayer stacking film, the user selecting the refractive index values from the material library. The thickness of the film can be mapped on the sample to determine the uniformity of the sample.
ZFT works on some of the least reflective surfaces, such as solar cells whose reflectance is less than 0.1%. Many film thickness tools have trouble getting a signal from these types of surfaces because they depend on reflected specular light to calculate the phase change or other parameters. Broadband white light and normal incidence lighting allow the tool to be used for a variety of low-reflectance optically transparent films.
ZXI: Zeta vertical scanning interferometry
The Zeta-20 supports phase scanning interferometry (PSI) and vertical scanning interferometry (VSI) when paired with the piezo stage and an interferometric objective. The PSI allows rapid measurements of pitch heights ranging from angstroms to hundreds of nanometers. The VSI allows you to measure step heights from several hundred nanometers to several hundred microns. Both are performed at a resolution better than a nanometer, regardless of the numerical aperture of the lens.
ZIC: Zeta interference contrast
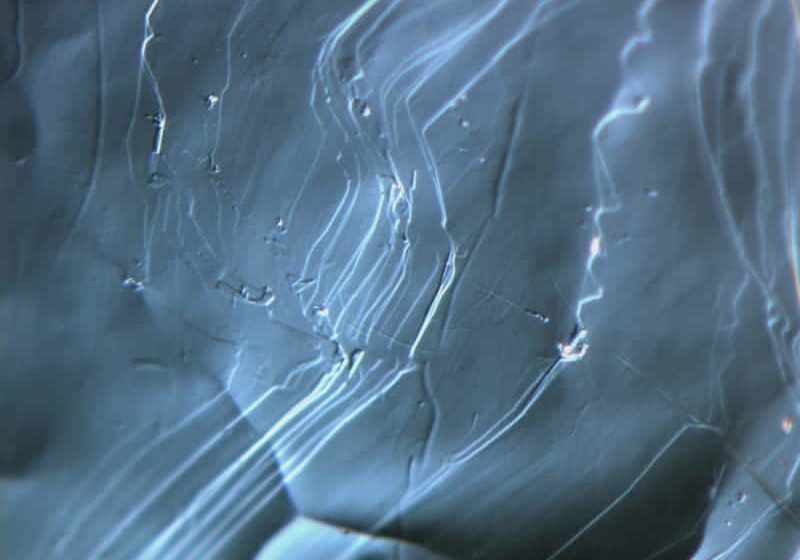
The Zeta-20 uses Nomarski differential interference contrast microscopy to provide improved imaging of fine surface details. Nomarski microscopy uses polarization and a prism to change the phase to improve the slope changes on the surface of the sample. This makes it possible to visualize the defects on super-smooth surfaces, such as the monolayer of a contaminant. The ZIC scanning mode can convert these images into quantitative measurements of roughness below the nanometer level by correlating the change in slope with the roughness measured by another technique.
ZSI: Zeta shear interferometer
The Zeta-20 Shear Interferometer (ZSI) measurement technique improves the measurement of ZIC by adding a phase change. Several images are collected with different phases, then processed using advanced algorithms to generate a quantitative measure of the surface topography with a resolution at angstrom level. This technique does not require interferometric objectives and does not include Z-phase scanning, which makes it possible to obtain high resolution measurements ranging from angstroms to 80 nm.
Objective lenses
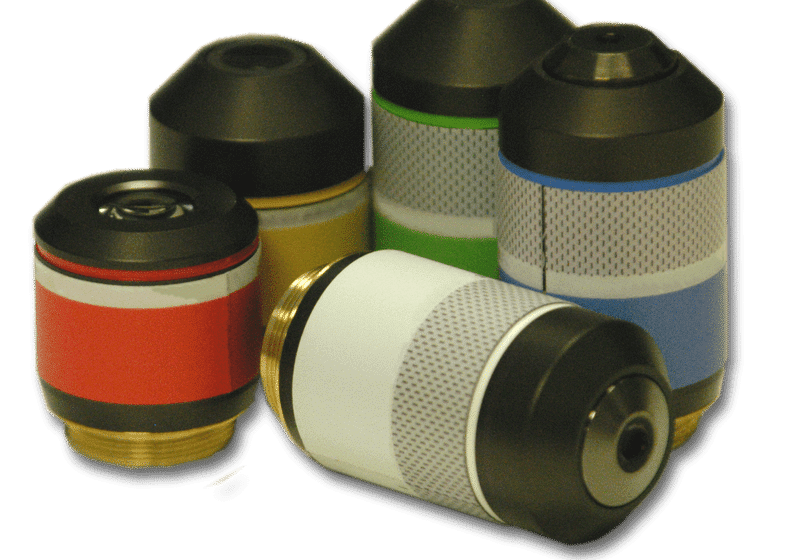
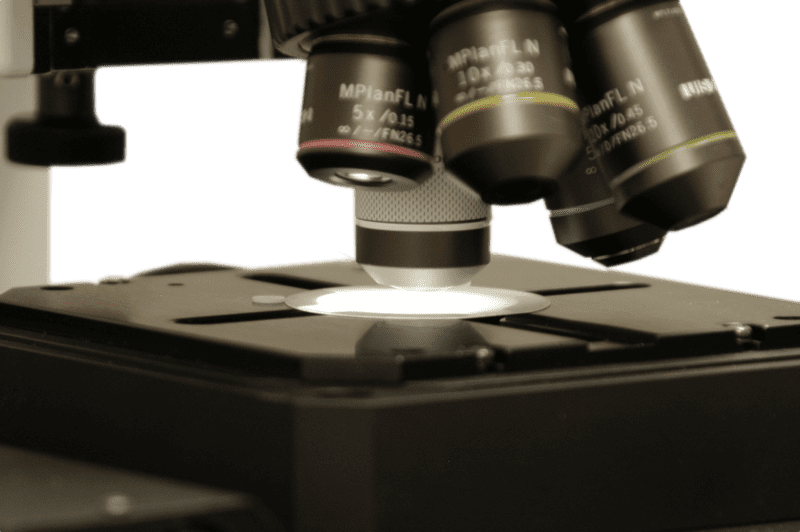
A wide range of objectives is available, including normal objectives from 1.25x to 150x, long working distance objectives, ultra-long working distance objectives, corrected refractive index objectives, objectives transmissive, liquid immersion objectives and vertical scanning interferometry objectives.
Couplers
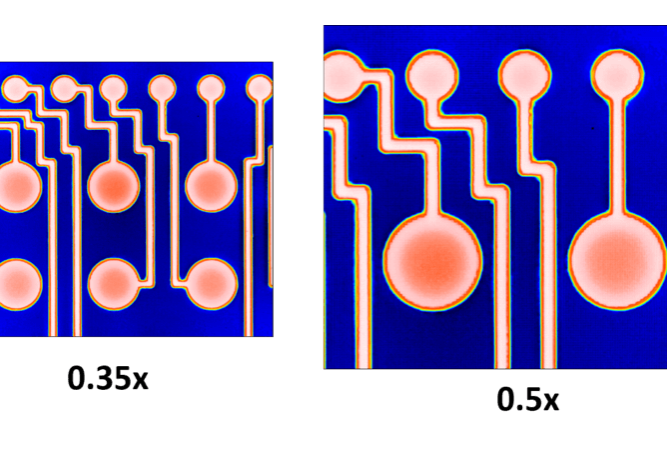
The Zeta-20 can be configured with four different optical couplers to change the optical magnification. The system can be configured with the 1x coupler to keep the native magnification or with 0.35x, 0.5x or 0.63x couplers to increase the magnification.
Objective turret
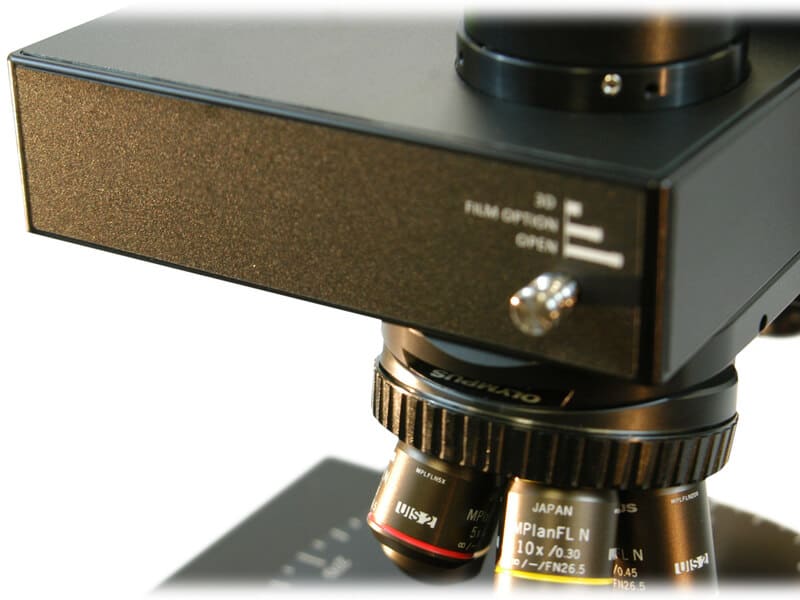
The Zeta-20 can be configured with a 5- or 6-position manual turret and a lens sensor for automatic lens identification. The system can also be configured with a 6-position motorized turret for fully automated operation.
Lighting sample
The Zeta-20 uses two high brightness white LEDs as standard lighting. Backlighting through the chuck is also available to improve light in the case of difficult transparent samples. The Zeta-20 also supports side dark background lighting.
Stages
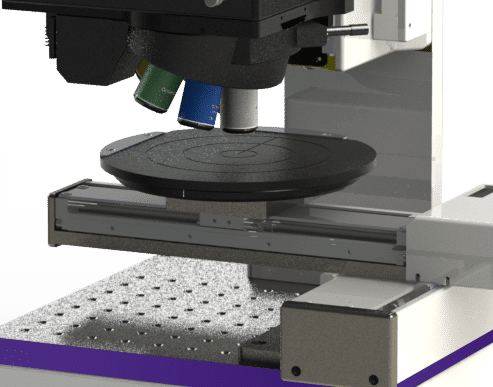
Sample plate
The Zeta-20 has a range of turntables available to meet the needs of applications. Solar samples require a 156mm sampling mandrel or a solar end plate to tilt the sample to measure the edge. Backlight plates are available for transparent substrates that support transmitted light. A 300 mm insert plate is available.
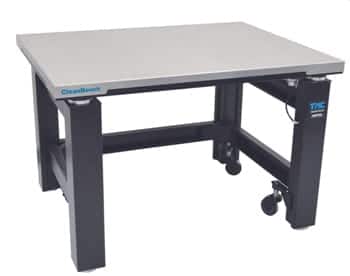
Insulation tables
The Zeta-20 has passive isolation feet built into the base of the system. If additional insulation is required, passive and active table isolation tables are available.
Tread height and film thickness standards
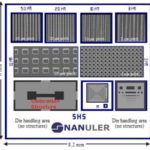
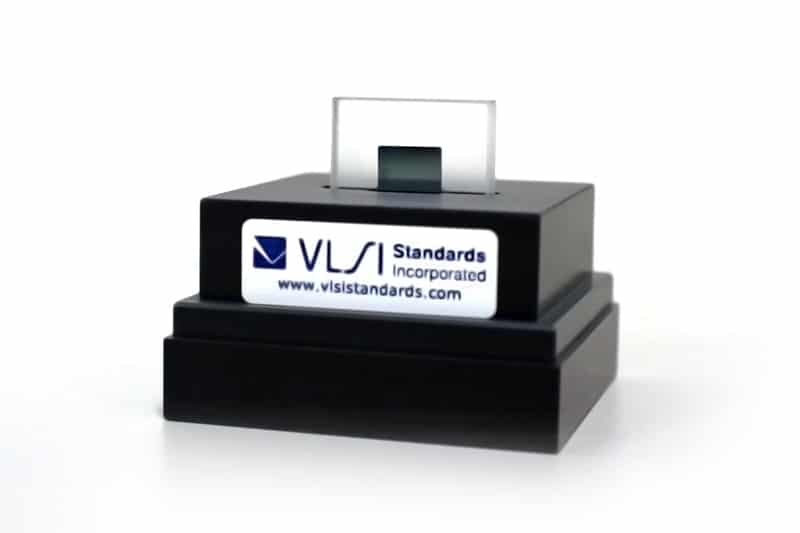
The Zeta-20 uses the traceable NIST thin and thick film step height standards proposed by VLSI standards. The standards include an engraved quartz step with a chrome coating. A step height range of 8 nm to 250 µm is available.
A certified multi-stage standard available at nominal step heights of 8, 25, 50 and 100 µm. The standard includes various height models for XY calibration. A certified film thickness standard is available for ZFT. It includes a reference silicon surface and a nominal thickness of silicon dioxide film of 270 nm. Roughness and reference mirror samples are also available.
Automated sequencing software
The automatic sequencing software uses the motorized XY stage to allow the user to program the measurement locations on the sample. The system will automatically measure each site and record the results in user defined folders. An output report with sample statistics is generated to summarize the results.
Advanced sequencing software includes pattern recognition to automatically align the sample. This allows fully automated measurements, reducing the impact of operator error. Automatic calibration can also be enabled when using standards integrated on the stage.
Assembly software
Automated image stitching software uses the motorized XY stage to combine adjacent scans to generate an assembled dataset larger than a single field of view. The system automatically measures each site, aligns the images and combines them into a single dataset. The results can be analyzed like any other results file.
Apex analysis software
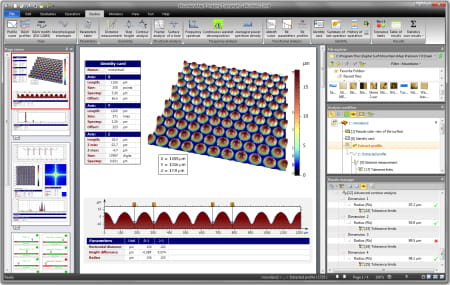
Apex analysis software enhances the standard data analysis capability of the tool with an extensive suite of leveling, filtering, step height, roughness and surface topography analysis techniques. Apex supports ISO roughness calculation methods as well as local standards such as ASME. Apex also serves as a reporting platform with the ability to add text, annotations and pass / fail criteria. Apex is available in eight languages.
Offline analysis software
Zeta-20 offline software has the same data analysis and recipe creation capabilities as the tool. This allows the user to create recipes and analyze data without using precious time.
Contact us for more information on this product
Would you like an estimation ?
Additional information?
We will reply to you within 24 hours


